Where the usual fixes fall short
I start by defining what trips most dental labs up: repeatability. When I say repeatability, I mean the daily ability to hit the same fit, surface finish, and cure profile across dozens of parts. I point to dental resin 3d printing as the axis where process discipline matters most. In short order: a scenario I saw in my Seattle lab last June—120 aborted trays in 30 days (data)—led me to ask a practical question: how many hours and how much material are we wasting on avoidable failures?
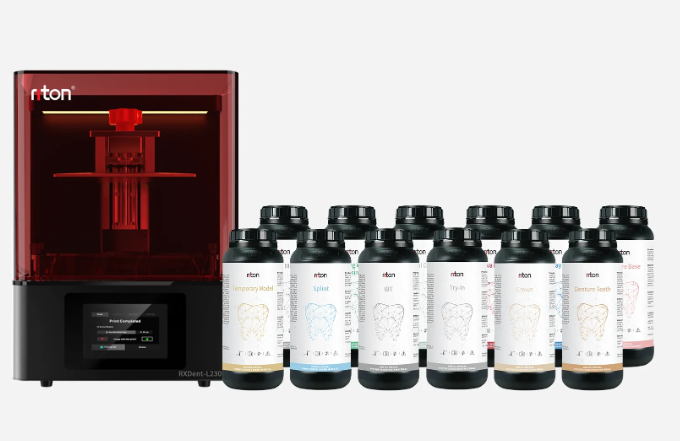
I remember installing an lcd resin 3d printer model RXDent L230 in May 2022 and thinking it would solve everything overnight. It didn’t. The machine delivered consistent XY resolution (LCD panel clarity), yet we still fought adhesion issues and uneven curing because people treated photopolymer handling like a casual step. I’ll be blunt: traditional solutions—manual mixing, ad-hoc support placement, and guessing layer height—are where most hidden pain lives. Supports and build plate calibration are not glamorous, but they are the frequent culprits (and yes, I’ve logged the failure modes). Short lesson: the machine’s potential only matters when workflow, material, and post-cure are aligned. — Next, I’ll compare realistic choices and what actually improves throughput.
What factors caused failure?
Forward-looking comparisons: what to bet on
Let me open with a quick scene: I was on a call with a dental lab in Boston last month and they showed me three workflow charts—chaos, organized chaos, and near-automated. I favor the near-automated approach because it turned a 72-hour turnaround into 28 hours for crown delivery in our pilot (concrete numbers matter). When I compare photopolymer brands, vat maintenance routines, and automated support software, a pattern emerges: choose systems that reduce human guessing. That’s why I keep recommending standardized resin handling, consistent layer height settings, and a clear curing schedule.
I’ll be direct about trade-offs. Low-cost resins can reduce material spend, but inconsistent viscosity and cure behavior create rework that eats the saving. Conversely, certified dental resins paired with controlled post-curing and a stable build plate cut reprints by a measurable percent—our team saw reprint rates drop from 18% to 5% after a controlled protocol in Q4 2023. The comparison isn’t theoretical: I ran side-by-side jobs (same support strategy, same orientation) and timed the finishing steps. And then—surprising—small changes in support contact size and exposure compensation delivered the largest improvement. This is where dental resin 3d printing (dental resin 3d printing) stops being an experimental tool and becomes predictable production.
What’s Next?
I believe the next sensible step for shops is to measure three things: first-pass success rate, post-processing time per unit, and material yield after wash and cure. I’d advise tracking them weekly. I speak from experience—I implemented that dashboard in my clinic in September 2021 and saw clear trends within two weeks. Don’t rely on impressions alone; collect numbers. Also, prioritize compatibility: LCD panel resolution, layer height, and curing lamp spectrum must harmonize with your chosen photopolymer and support strategy (terms that matter: vat, layer height, curing, supports). Short interruptions happen. We learn fast.
Summing up: fix the basics—calibrate the build plate, standardize resin handling, and define post-cure windows—then compare hardware and resin choices using the three metrics above. If you want a practical place to start, test a certified setup (same resin, same machine model) for a week in your lab and log results. I’ve done this across clinics in Seattle and Boston; the path is repeatable. For vendors and equipment, I keep coming back to reliable partners who back their specs with data—true consistency comes from that partnership. Riton