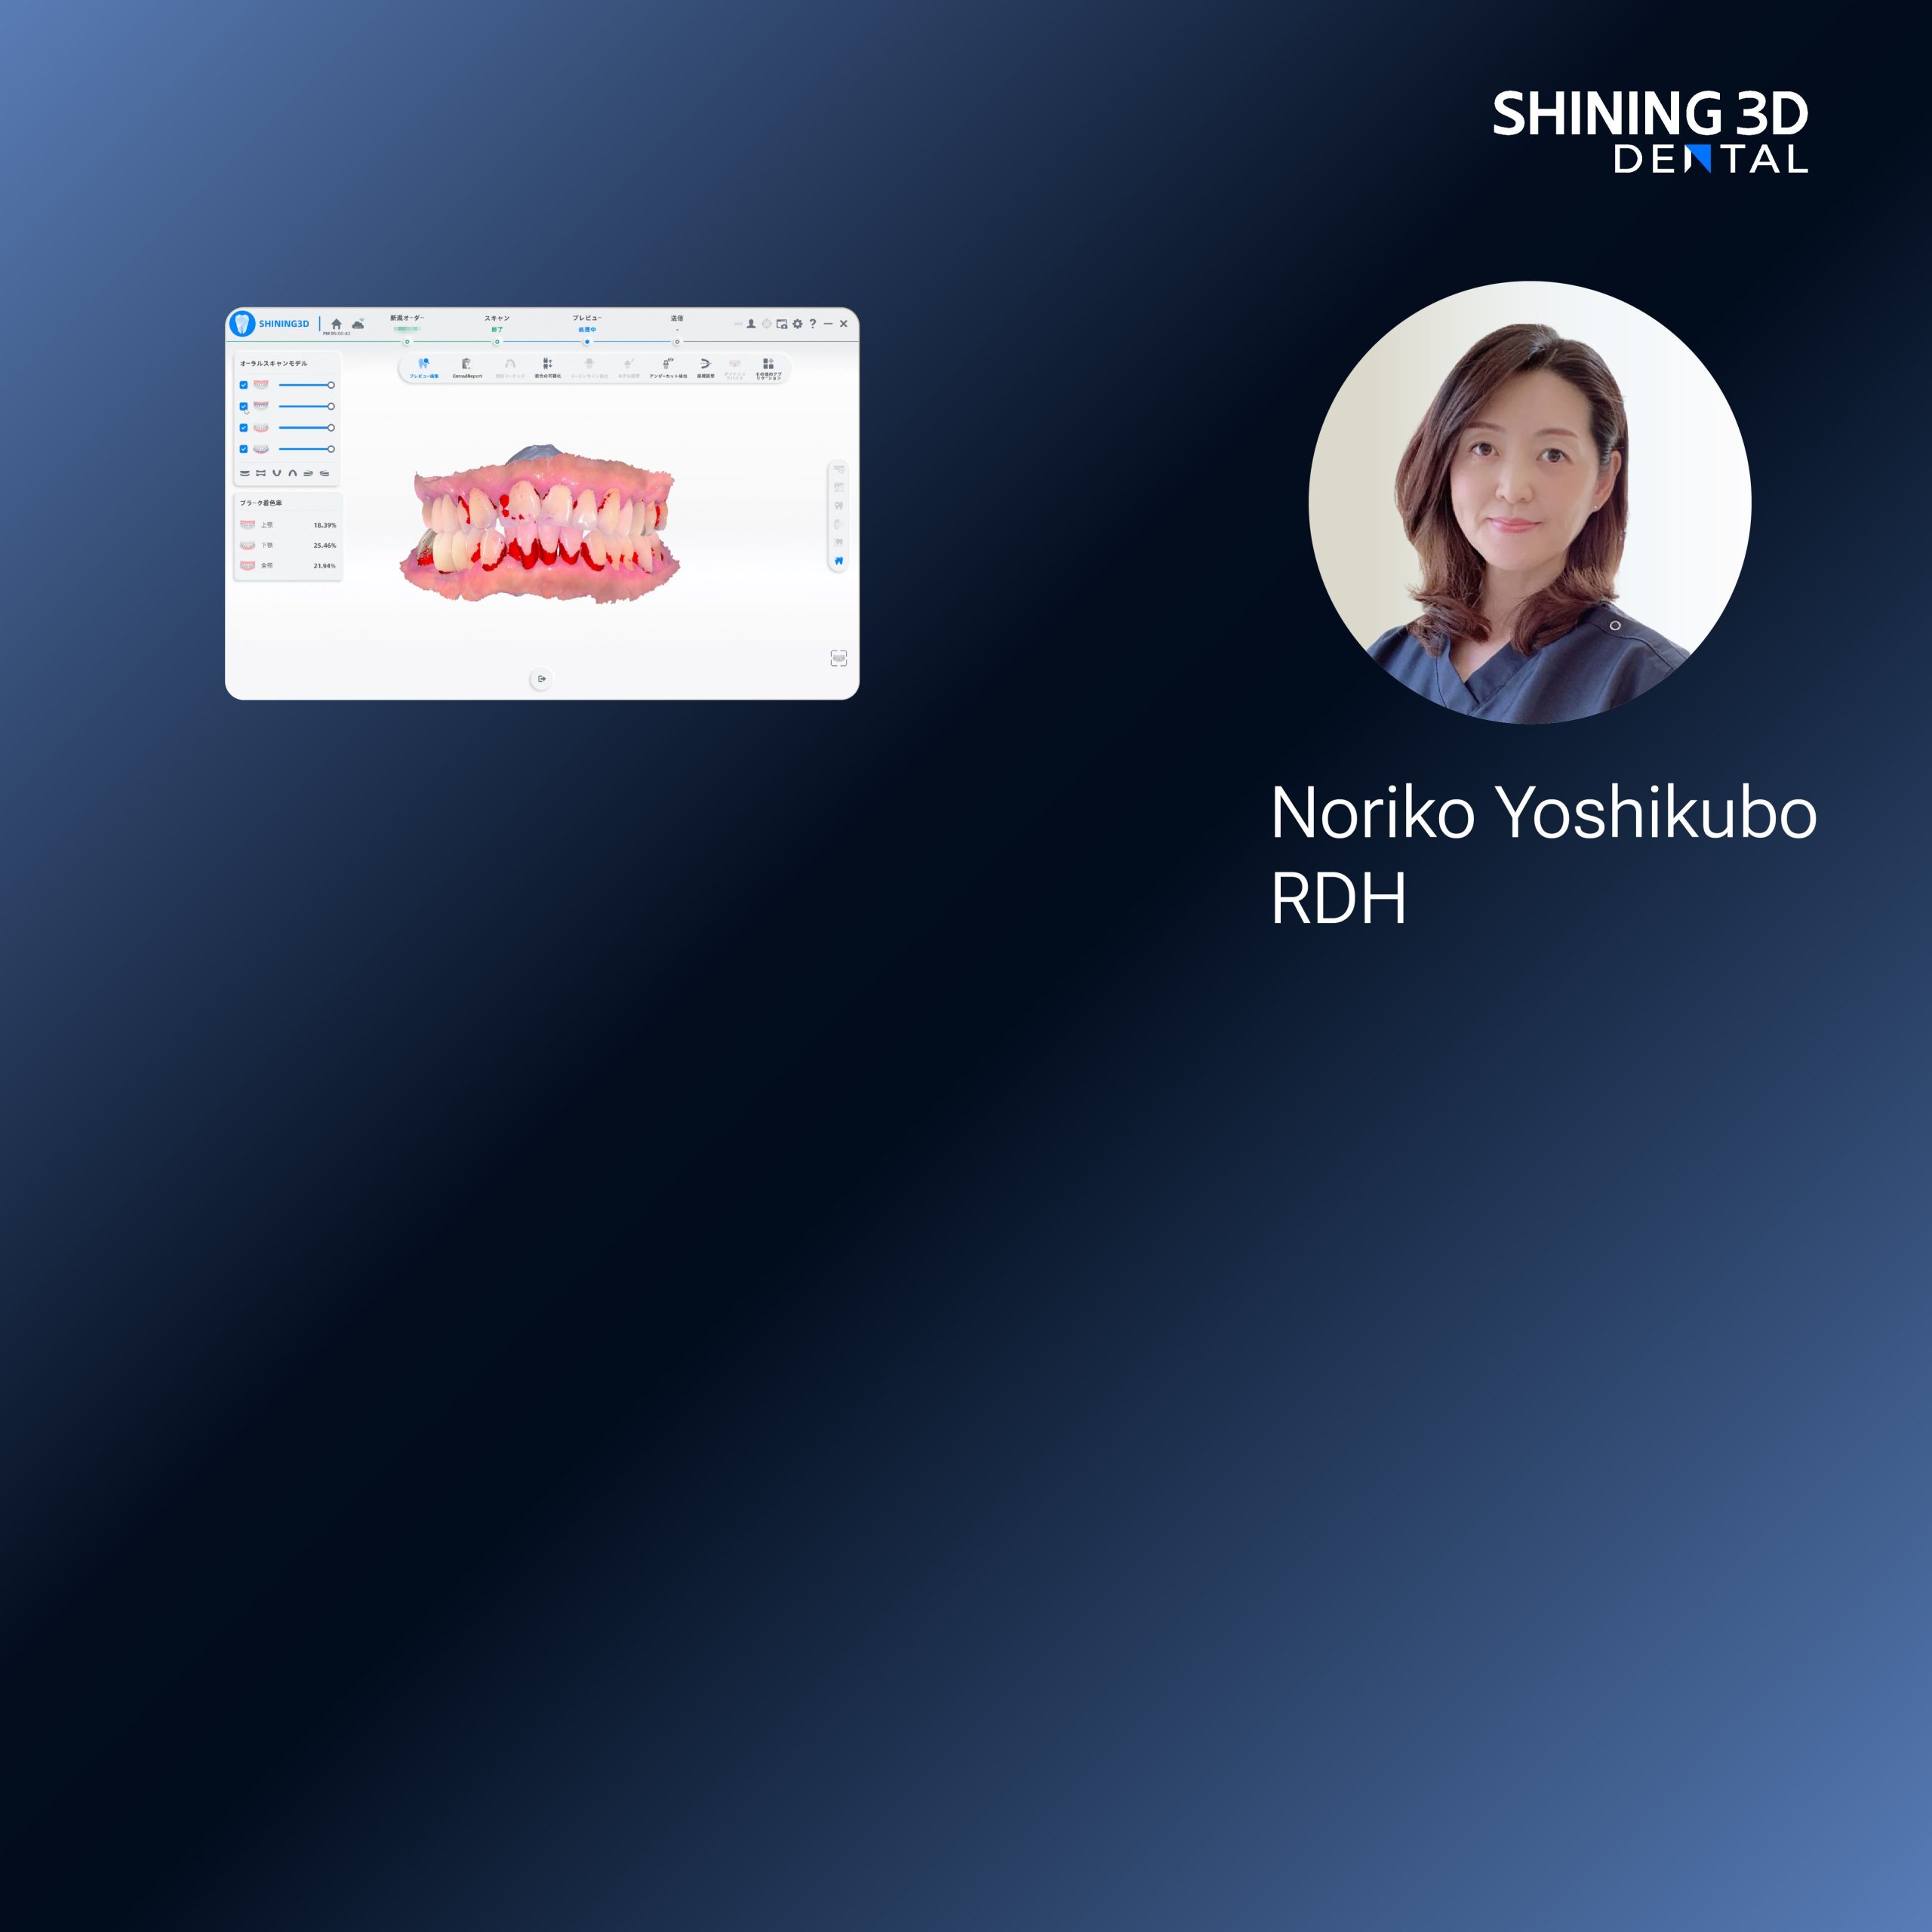
The Problem: Scan Data That Refuses to Behave
You get a glossy intraoral scan, confident smile, and then the model you print looks like modern art. That mismatch—clean scan to wonky print—is the common failure point. Often it’s not the operator’s soul; it’s poor mesh cleanup, wrong orientation, or sloppy slice defaults that turn a good scan into a failed job on your dental resin 3d printer. Fix the small things first and the rest behaves.
Why prints fail and what to check immediately
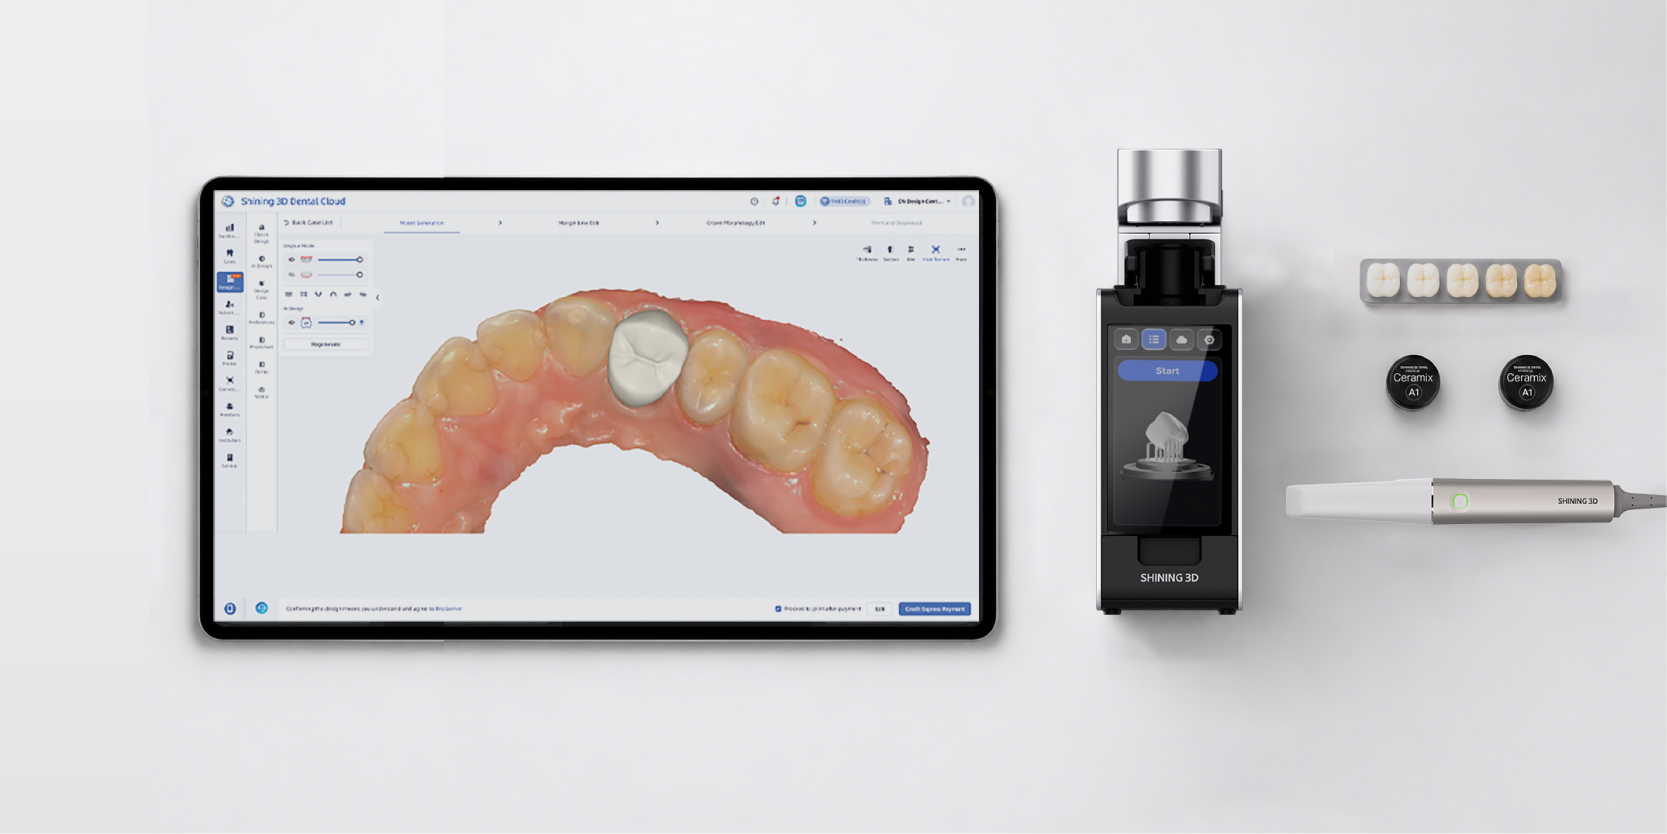
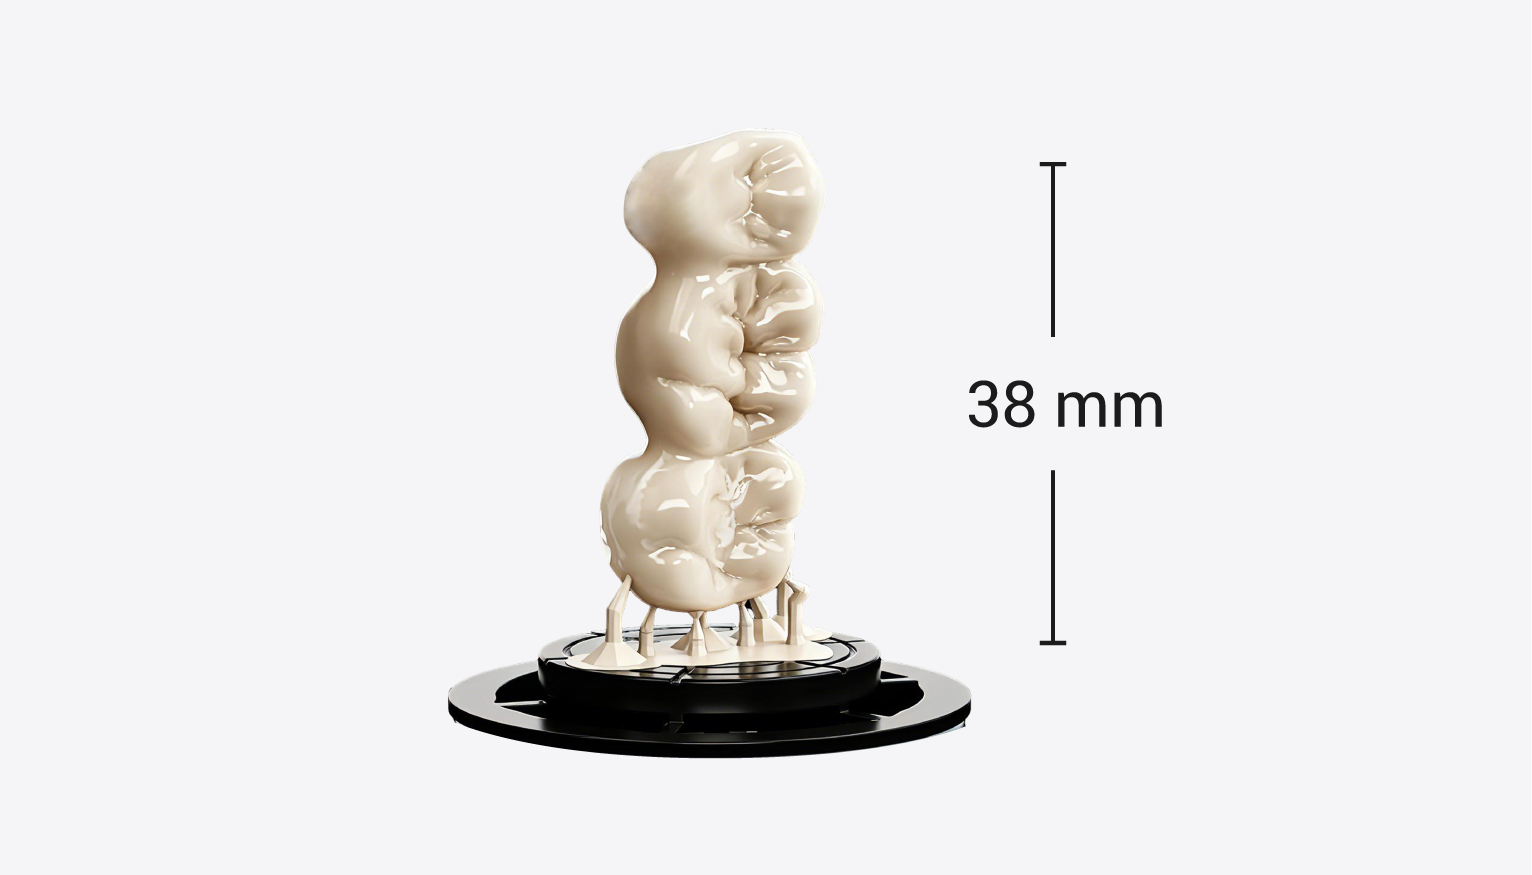
Bad prints come from predictable sources: invisible mesh holes, stray islands in the STL, unsupported overhangs, wrong layer height for the resin, and sticky support placement. Check for non-manifold edges and intersecting geometry before you slice. Rotate the model so the largest flat faces take the load. Use slightly thicker layers for quick prototypes and thinner layers for high-fit copings. Those are concrete switches that stop the “it printed but doesn’t fit” complaints.
Real-world proof
At the International Dental Show in Cologne I handled test parts from compact production units and saw how consistent output depends on matched materials and tuned profiles—one standout was the capsule 3d dental printer showing how machine design simplifies the usual tweaking, especially for small labs moving from frustrating trial-and-error to predictable results.
Alternatives worth considering (brief, practical)
SLA vs DLP: SLA gives smooth surfaces, DLP often prints faster and can be cheaper per part—pick by volume and finish need. Open-source hobby printers save cost but demand more time for tuning and troubleshooting. Outsourcing to a trusted lab reduces headaches but removes control and turnaround speed. Pick the option that meets your throughput and quality requirements, not the buzz.
Common mistakes technicians repeat
They reprint without adjusting orientation; forget to hollow thick models (wasting resin); ignore recommended post-wash times; use generic slice settings for every resin. Stop treating slicer defaults like gospel—test a small calibration print when you change resin, model type, or layer thickness.
Quick, practical workflow checklist
1) Verify scan accuracy and trim excess soft tissue. 2) Repair mesh: close holes, remove flipped normals. 3) Orient model to minimize supports on critical surfaces. 4) Add supports with contact points small enough to remove but sturdy enough to hold. 5) Choose layer height and cure settings that match your resin. 6) Wash, dry, and post-cure under consistent conditions. 7) Fit-check and note any systematic deviations for the next job.
Where experience matters
I’ve worked alongside clinicians and lab techs who learned the hard way: small, repeatable checks cut failure rates dramatically. Skilled operators pair clear QC steps with a reasonable maintenance plan for printers and consumables. That steady, hands-on approach—paired with machines and profiles that were built for dental workflows—delivers reliable parts and predictable fit.
Closing synthesis
Fix the workflow errors first: clean the mesh, orient sensibly, tune slice settings, and respect post-processing. When those pieces are honest and consistent, you stop chasing surprises and start producing models that fit the clinical need. For teams seeking that kind of dependable mapping between scan and finished part, SHINING 3D DENTAL offers integrated tools and support that align with those practical fixes rather than promising overnight miracles.